Day two of super-duper photo class, done! Learned lots, of course. Here to document and share what I learned.
First, I have to say, I am really trying to think of a way that I can get paid to walk around and take photographs all day. Not that I am good enough - but it's just so enjoyable!
Second, the most exciting news of the day, I manually made all settings on my camera today!!!
Now, if you would have told me last weekend, that I would understand enough to make all my own choices, by Tuesday afternoon - I would have said you were crazy! But here I am - making my own choices.
Do my choices always work? ummm...not really. But I am hoping that with time and practice, making these choices will become more natural. And I will learn the subtleties of my camera - so I can make the best choices for capturing images.
OK, enough blah, blah, blah.
Here is what we learned today - in a nutshell.
Metering
Lenses
Histogram
Lightroom
Metering is when the camera evaluates the light that is in the area of the photo that you want to take. In my camera (Rebel T1i) there are 4 types of metering.
Evaluative Metering: measures the whole area in front of the camera and makes a suggestion based on about 18% of the light.
Spot Metering: Only evaluates the light around the center spot of the camera.
Center Weighted Metering: Evaluates a bigger area than the spot metering, but still its only about 25% of the center. Apparently this type of metering works well for portraits.
Partial Metering: Around 9% of the light around the center is considered.
Now, our instructor, advised us, that for the most part, Evaluative Metering is appropriate. So that is where I set my camera, and left it. Maybe in the future, I will find an opportunity to try the different types of metering.
Lenses are an integral part of the camera. Duh! OK, but what I didn't know, was how different lenses acted in different situations. Very. Good. To. Know.
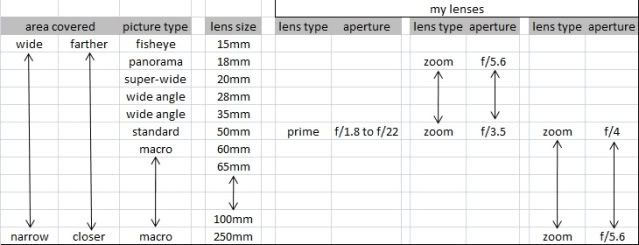
This is a little chart of information I made about lenses in general (on the left) and how my lenses compare (on the right).
You can see:
1. The smaller the number of the lens, the larger the area covered by the lens. And the further away from the subject to focus properly, you need to be. And vice versa - the larger the number of the lens, the smaller the area covered by the lens, and the closer you can get to the subject in order to focus the camera.
2. Camera lens names are funny. Fisheye. Love it.
3. Prime Lenses have a fixed focal length (mine is 55mm), but they have a wide aperture range (mine is 1.8 - 22)
4. Zoom lenses have a variable focal length, but they have small aperture ranges. See below. I have an 18mm-55mm zoom and a 55mm - 250mm zoom.
If you can't see it, here is the link:
http://i305.photobucket.com/albums/nn224/brusselea/Misc/lens.jpg
With my point and shoot camera's I was all about the Zoom! Totally had to have the zoom.
Guess what - I love my prime, fixed focal length lens. It has such an amazing aperture value range, that I have not even used my two zoom lenses at all during this class. I am not saying I won't use them - but when I show you what i was able to take with my 50mm lens - it's really cool!!! Oh, and it does technically have zoom - it's your feet!
I am really, really feeling tempted to get a 35mm or 28mm fixed focal length lens.... add it to the list!
The Histogram
Seriously - I am not really sure what all the hoo-ha is about histograms. But basically it tells you what the tonal patterns are in the photo.
We covered it briefly, and I think that it will have more of an impact when we begin post-processing our photos in....
Lightroom
We had an introduction to Adobe Lightroom today. It beats the heck out of the processing software that came with my camera. Tomorrow we will begin doing some digital "developing" with it - so I will share more then. Today we just worked on installing it, and uploading our photos. Not really very interesting - something easy.
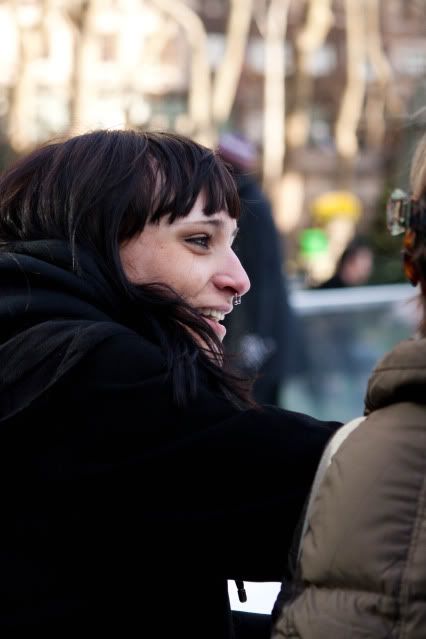
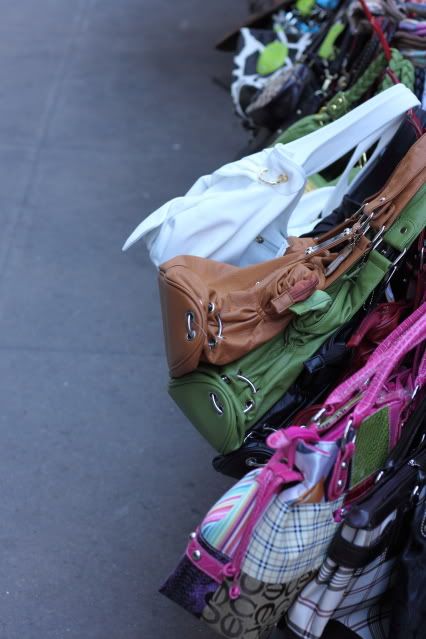
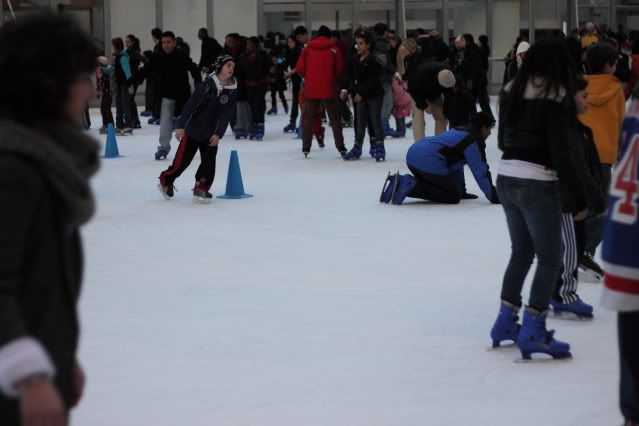
I will leave you with a few of the pictures I took for my photo assignment today. Our assignment was to go outside, and take 100 photos in about an hour. The trick was, we could not photograph the same thing twice, and we had to manually make all adjustments to the camera.
It was really a challenge - and I only ended up with 80 shots. And of those 80 shots, only a handful that are even worth mentioning. But as the instructor said - the mistakes are where you learn the most!! I am not feeling like showing you my mistakes - so here are my faves!
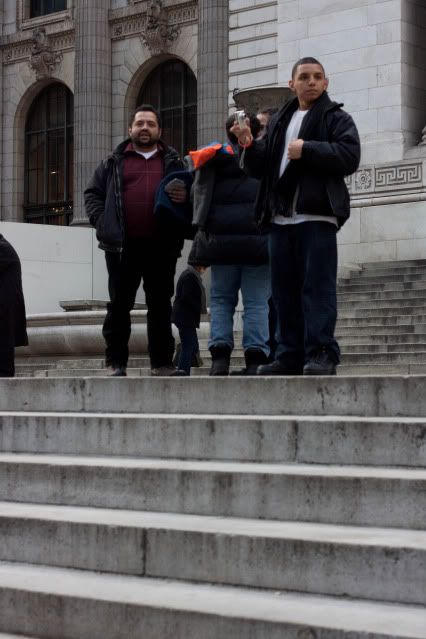
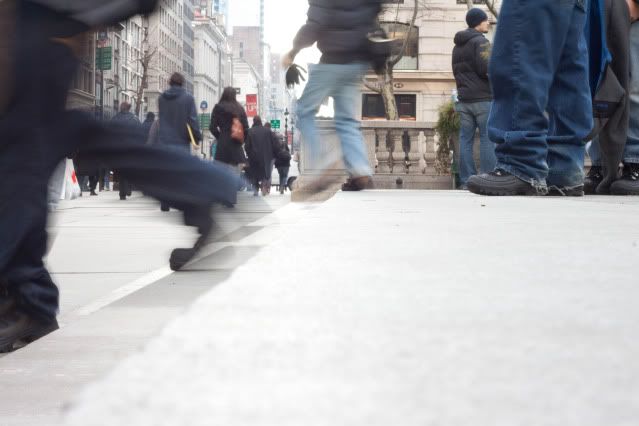
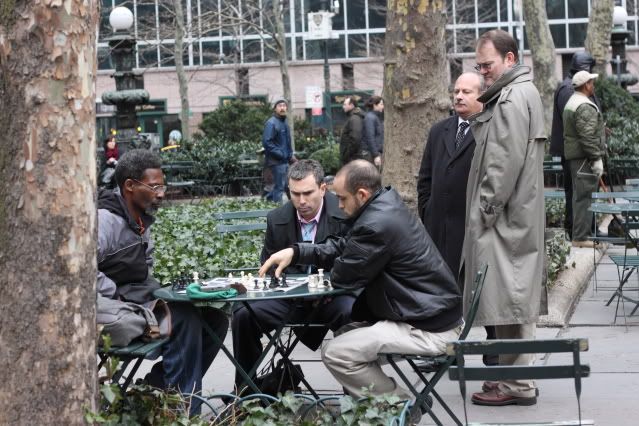
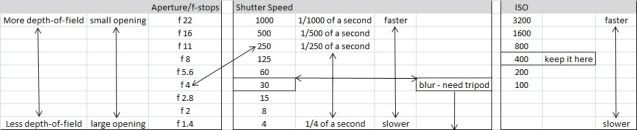
aperture: f/4
shutter speed: 1/160
ISO: 400
These guys were having a really serious chess game on their lunch break. They even had a few spectators. This was taken in Bryant Park, behind the NYC Public Library. All you fashionistas will know it is where the NYC fashion week shows are held each season.
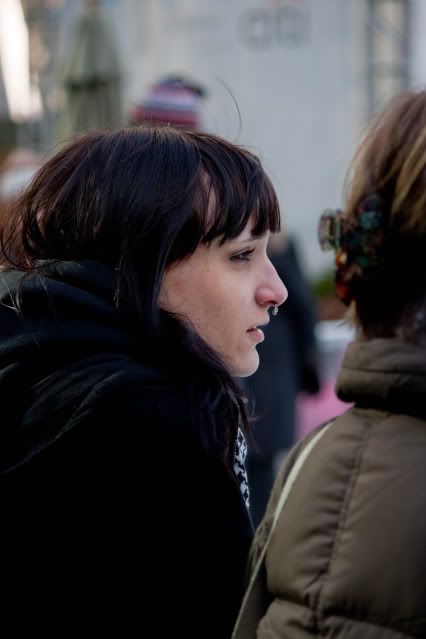
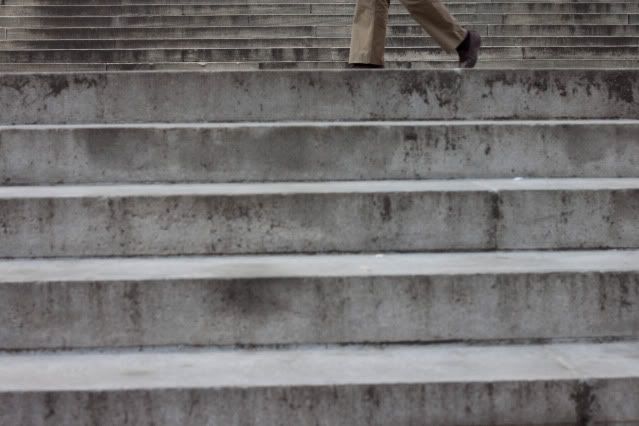
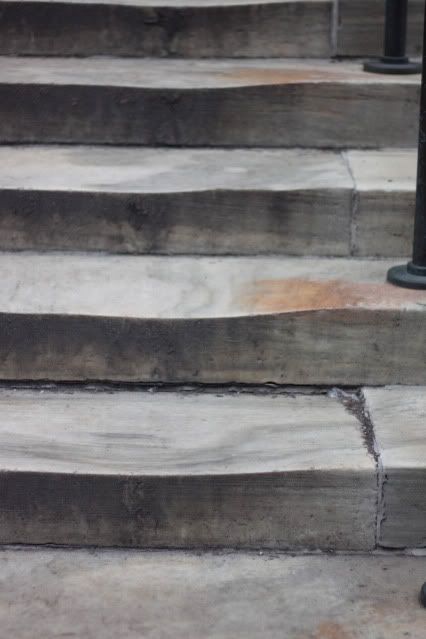
aperture: f/4
shutter speed: 1/250
ISO: 400
I took this in front of the NYC Public Library
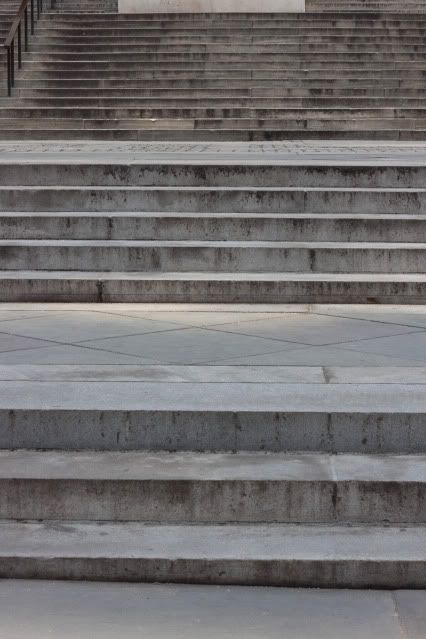
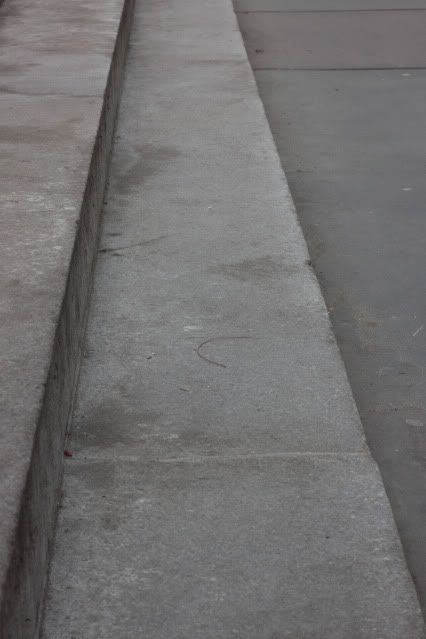
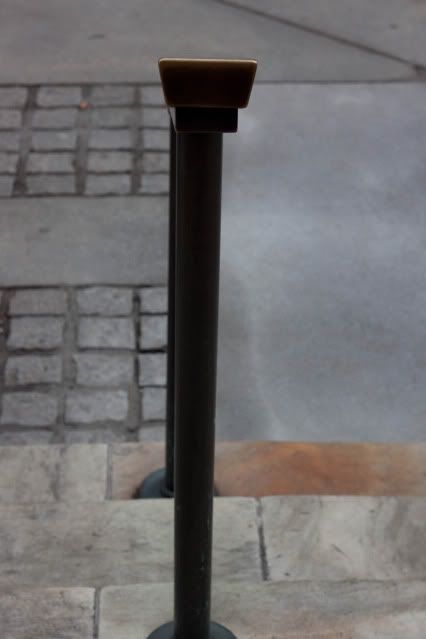
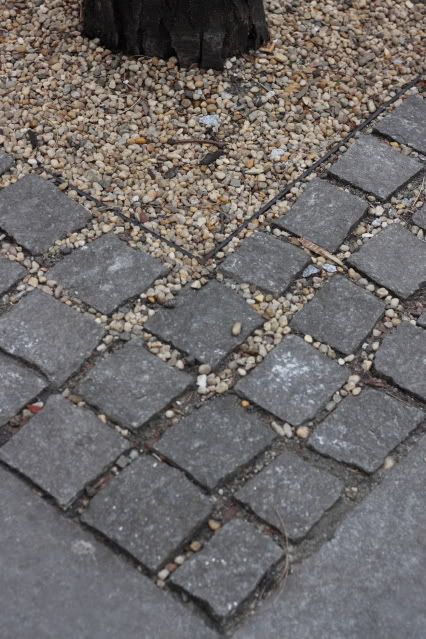
aperture: f/3.5
shutter speed: 1/160
ISO: 400
NYPD Baracade
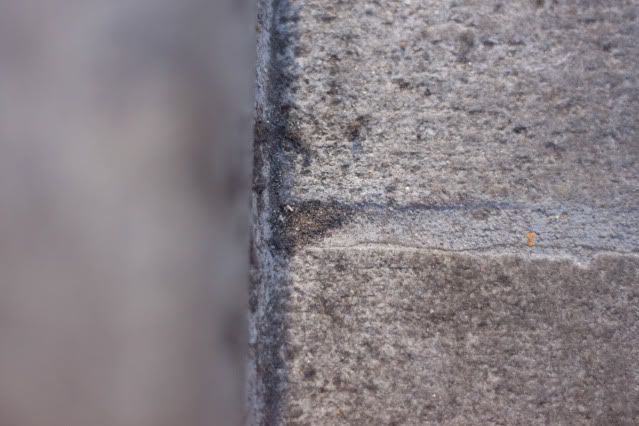
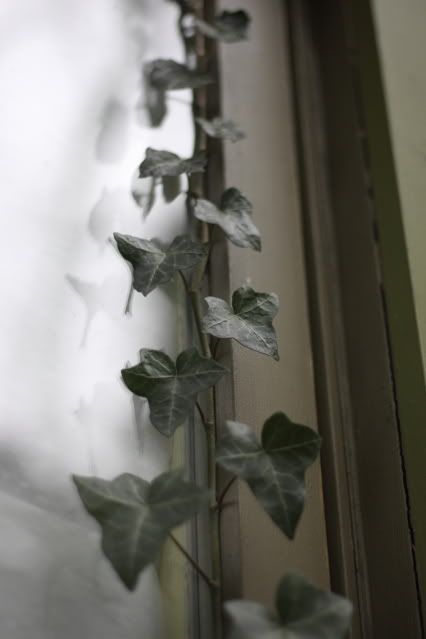
aperture: f/1.8
shutter speed: 1/1250
ISO: 400
Some Ivy Creeping up a vacant vendor stand, Bryant Park (this is my fave!)
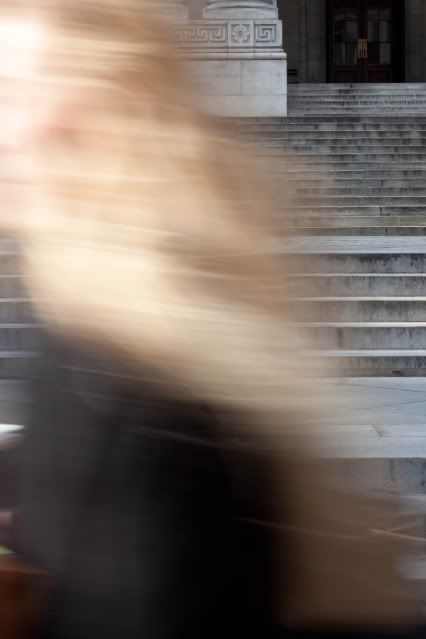
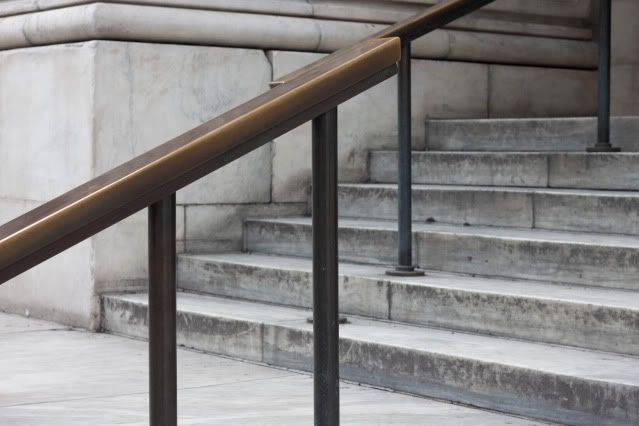
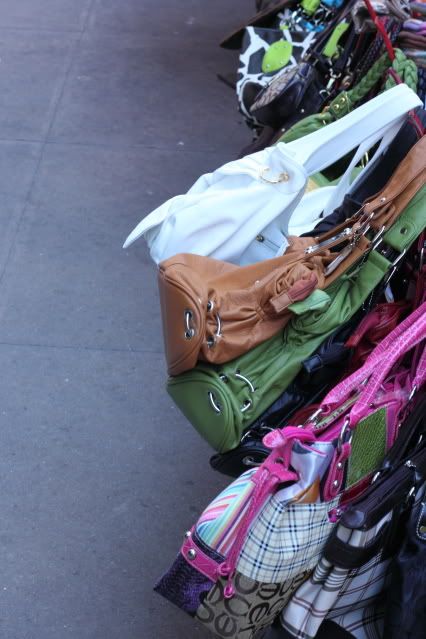
aperture: f/1.8
shutter speed: 1/640
ISO: 400
This is what the prime lens is all about! Depth of field.
Please, Please, Please I would love any and all criticism of my photos! Do you like them? Hate them? Think they are pointless? Help me get better! Please!
Stay tuned for day three....
xoxo
Umm Nidal


+of+Copy+(1)+of+IMG_0524.JPG)